|
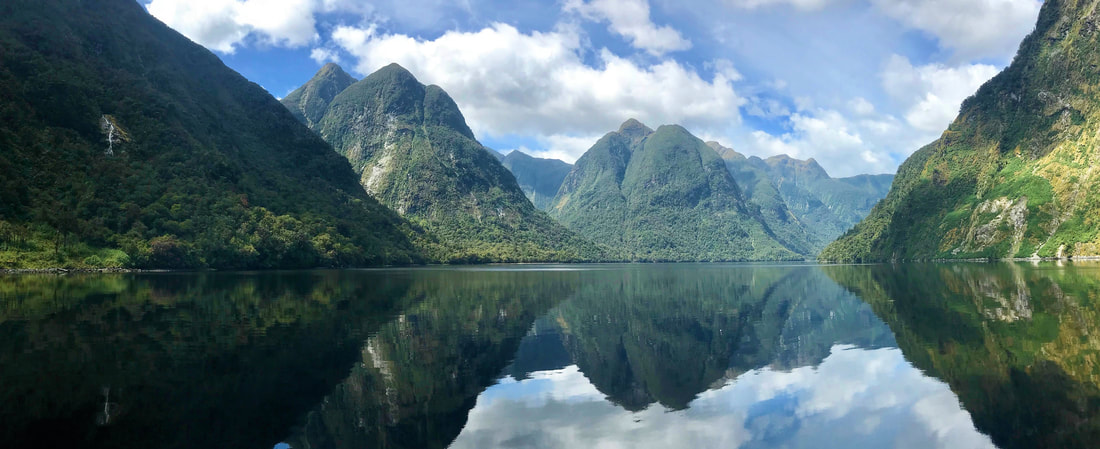
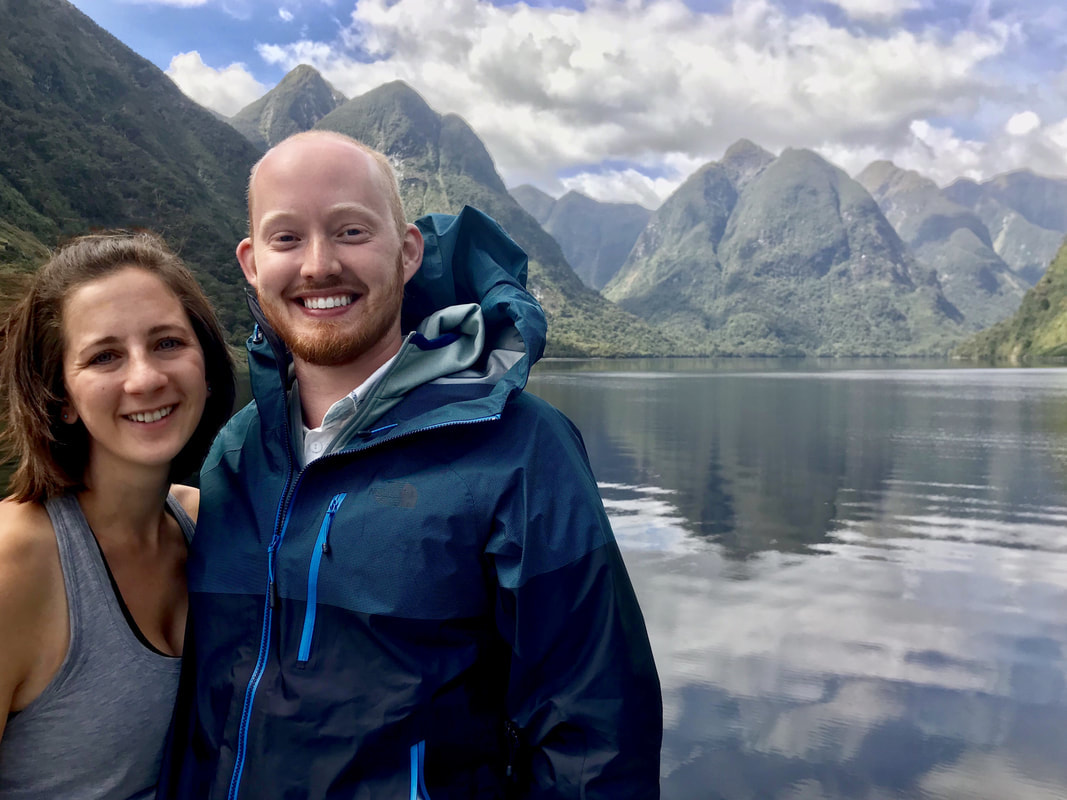
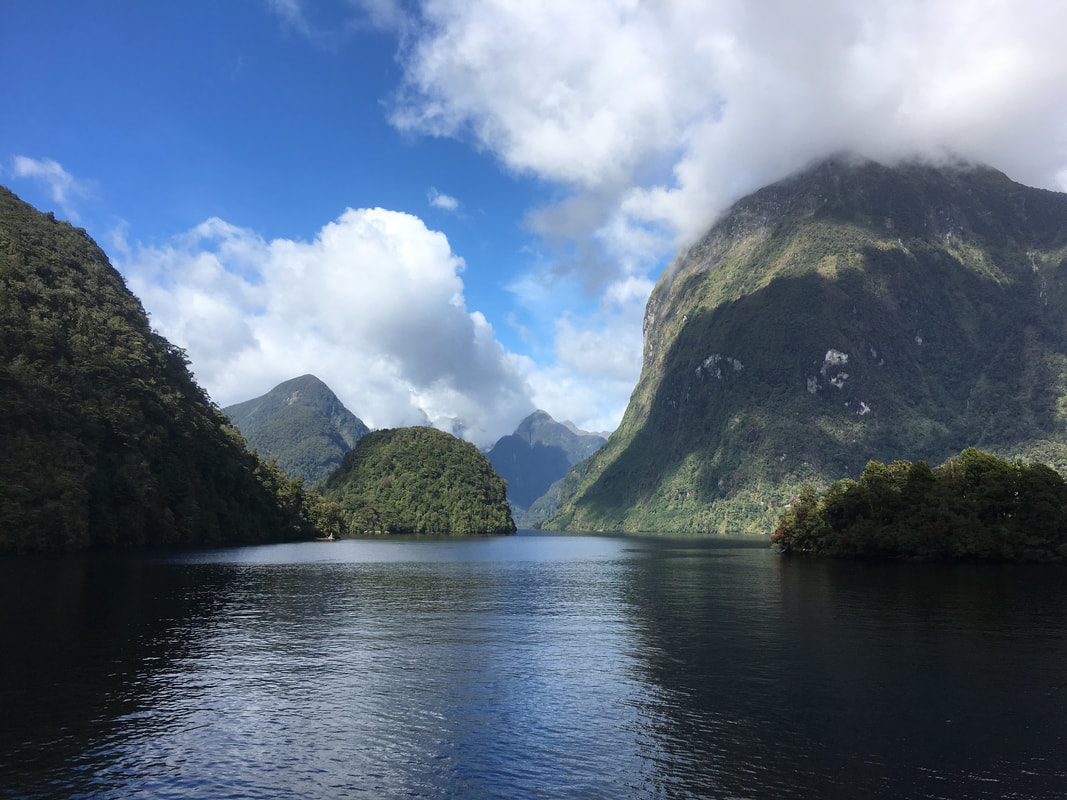
The picture above of Doubtful Sound says it all. New Zealand has endless beauty and diverse scenery all on two small(ish) islands. If you've ever questioned if it's worth it or not to make the trip, let us tell you: it is. Start building that bucket list! You can also see more of our pictures from the South Island here and the North Island here.
We road tripped around New Zealand for all of December and half of January. The length of our trip was dictated somewhat by flight prices in and out of the country around the holidays. Flying out of the country anywhere near Christmas was way more expensive than normal. All in all, we could’ve shortened our NZ trip by a week or two and doing it again, we’d take out a few spots and add in some cushion days in premier spots to account for rainy days. It was unseasonably rainy, and it may have rained more than half of the days we were in New Zealand. They weren’t quick, hard storms but rather persistent drizzle and light rain. We were incredibly lucky with the weather in some places, and very unlucky in others. In our fast pace though with only a couple days in each location, the weather had a big impact on whether we enjoyed a spot or not. Traditional weather apps were laughably inaccurate, but NZ has their own weather app, Met Service, that offered a bit more accuracy.. Weather aside, New Zealand is brilliantly set up for road tripping with extensive support for travelers in the form of frequent information centers, public restrooms, free camp grounds, and quality economical lodging. The government folks at information centers (i-sites) drop everything to help you with trails, lodging, or dining recommendations and even book things on your behalf! Fellow travelers (who are everywhere) are more than happy to help out as well. Additionally, government websites offer great resources for exploring the countries many parks and public lands. You'll want to look up every track / walk / hike you do on the Department of Conservation (known as DOC) website here, and the NZ Walks Info site (here). Both offer directions, tips, and some background for each hike or area. TOP 5 LISTS
With so much to see and do, you’ve got to draw a line somewhere. Good news is that it’s tough to go wrong. Having an opinion on these questions or at least prioritizing them will help you hone in on places to go and things to do: How adventurous are you? Are you interested in camping and overnight backpacking? Extreme sports? Animal viewing? How much civilization do you want? Wine tastings and depth of food options? How important are people-free views?
Our totally biased opinion of top places and activities are as follows: Top 5 In Nature
Top 5 In City Life
5 Biggest Letdowns
GENERAL INFORMATIONHow Long to Visit
It’s a long flight to New Zealand from anywhere, even Australia, but especially from the US. To make the trip worthwhile, you need at least a week and a half here. There’s so much to do and see that you can fill up however much time you’re able to contribute to the trip. Each spot you pick has a wealth of activities for days of entertainment and adventure.
Flights within New Zealand are surprisingly inexpensive at $20-$40 USD per leg, so it’s easy to save some time by flying and you can zig zag around the country a bit more. So don’t worry as much about geographical distance. Due to the island nation’s fickle weather, there are a couple tactics you could try: 1- either having flexible travel plans where you can swap destinations to try to chase good weather (which can be time consuming, frustrating, and impossible) or 2- keep it relaxed by picking your top spots and adding an extra day to each. You can always fill it with more scenery and hikes if the weather cooperates! How to Get Around
New Zealand is made for road tripping. Flights are great but then you’re at the mercy of tourist companies and taxis for transportation which are expensive. Your next choice is to rent either a car or a campervan. To make a rough comparison for 2 people, it costs about the same to rent, fuel, and stay in a campervan as it does to rent a small car and stay in hostels. You won’t be alone with either option. The roads and parking lots, especially in South Island, are swamped with campervans and rental cars with all levels of glaring advertisements from a small Apex logo on the window to entire vans hand painted with slogans about illegal drugs (Wicked Campers). My recommendation here is to be as inconspicuous as possible that you’re in a rental so that you stick out less and maybe get treated more like a local and possibly dodge a parking ticket or two.
Rent a campervan - If you like the flexibility of sleeping anywhere you want but prefer more comfort than a tent, this is a great option. There are many rental companies and vehicles range from bare bones, decade old vans to shiny, new deluxe RVs. You'll see many of every type but Apollo and Maui seemed to be two of the more common and nicer looking rentals. With so many public bathrooms, campervan holiday parks, and generous laws about free camping, it's a great environment for a campervan. One thing to note is that you'll probably want a certified self-contained van basically meaning a van with a bathroom. This opens up many more areas where you can park and camp. If you don't have a self-contained vehicle you generally have to pay to camp at a holiday park. Rent a car – Rental car costs aren’t too bad. Our car rental was very cheap at $20 USD per day but that was because we got a tiny car in South Island, took it to North Island (opposite of the normal flow so helping out the company to relocate stock), and had it for so many days. $30 to $40 USD per day is more common. We rented with Apex car rentals and had a great experience with them. They were the most easy going rental company we’ve ever used, and we didn’t have any issues with the car, communication, or transaction. Some companies (Jucy, Apollo) offer really good deals like $1 per day for relocating cars from one area to another within a certain time frame. This limits your flexibility a bit but makes a big difference on overall cost. If you plan to camp, this would probably be your best (and cheapest) bet. Buy a car - A bit riskier but not uncommon option is to buy a used car in one area of NZ and sell it in another. This is big business in NZ with entire shipyards full of used cars in Auckland. If you’re savvy with used car sales and maintenance, you can even make some money off this option or at least save a lot more than if you’d rented a car for weeks. However, you could also get very unlucky and a lemon could ruin your already expensive trip. This method would require more research but could be fun and profitable for the right person. Buy a campervan - Also a bit riskier. Same information as above except with a campervan. Generally, you get older, home-made vans but this is probably your rock-bottom cheapest option. Driving in New Zealand
Read up on right-of-way for one lane bridges, traffic circle etiquette, and be prepared to challenge your brain with left lane driving. The roads are ridiculously windy as they snake around mountains and streams and you learn to follow recommended speed limits almost exactly because they’re serious about their hairpin turns.
As a tourist, be prepared to pull off the road regularly to let traffic behind you pass. Most roads in New Zealand are only two lanes and don’t have long enough straightaways for passing, but there are plenty of paved and gravel pull-offs to let faster cars pass. If you do not do this, you put yourself and other drivers at risk of nasty accidents. We saw some very unsafe passing going on around the more touristy towns. There’s a bit of road rage at times as folks accustomed to the roads come screaming up behind you breathing down your tail pipe – even big trucks! Just go the speed you are comfortable with and pull off to let folks pass you. A neat trick is to just do a full loop around the traffic circle to let people pass without having to pull off the road! We were told that Google Maps can be way off with estimated time of travel – it often takes you much longer than it tells you. You can use this website to estimate time between points. However, that being said, we did find Google Maps to be pretty accurate overall. Gas / Petrol
Gas is very expensive in New Zealand. We worked it out that for regular unleaded, it was about $7 USD per gallon. Diesel is cheaper at about $5 per gallon. Our gas cost for the road trip was as much as the car rental! Gas station chains have free loyalty cards that can get you 5 to 15 cents off per gallon. Grab one of these and stick with that chain. Some pair with grocery stores for more discounts. BP or Z are the two more common companies we saw.
One thing of note is that some gas stations won’t let you pump your own gas without paying inside. You get an error code at the Z Gas chain, for instance, because their cameras read your license plate which flags you as a car rental due to the license plate sequence, and turns off the pump until you pay inside. They have trouble with people in rental cars driving off without paying for gas, so this chain got serious about it. It’s a mild inconvenience, but now you know why your pump won’t ever work! Where to Stay
After our campervan experience in Patagonia (read more here), we decided to try out renting a small car and staying in hostels and Airbnbs instead of living out of a van. This method had its good and bad qualities. In hindsight, we should’ve also bought a small tent and basic camping gear to have that flexibility in some way off the beaten path areas. Overall, the car was better for our traveling style than a campervan (better bathrooms, bigger beds, laundry, heat, etc.).
Some areas are best set up for campervans where you can stay right where you want to hike while hostels are longer drives away. On the other hand, bigger cities are not great for campervans with very expensive parking or camping zones far outside of town. There are many great hostels around New Zealand (also known as backpackers). Some are better or newer than others, so we relied heavily on reviews from Hostelworld. I wish we’d signed up for a BBH or YHA card from the beginning, and we could’ve saved some decent money with club membership discounts. These are two common clubs in New Zealand with lots of hostels all over and as a paid member, you get nightly discounts or other perks by booking through the hostel directly or through the club’s website. We didn’t know about this until a couple of weeks in, and it wasn’t worth it by then to buy a membership. Internet Woes
New Zealand is literally at the end of the line for internet from the rest of the world. A metaphor I heard was that the internet is like a big river where everybody upstream is taking a little out, and by the time the river reaches New Zealand, it’s only a small stream, and then by the time it reaches the south end of the South Island, it’s a trickle nearly dried up. This means that speeds and data limits can really take a bite into your connectivity. From our experience in South Island, don’t expect to get much internet outside of Christchurch and Nelson. Some good news is that they should have a new undersea cable installed and running by the end of 2018 bringing a bigger pipeline to the country!
You should assume that “free wifi” means it has a data limit of around 200 mb per day – even for hotels and hostels. Cafés give you 1-2 hour limits on top of that. Also, if you find a connection faster than 5 mbps, you’ve struck gold! Before arriving in NZ, I’d recommend downloading offline Google Maps and Maps.Me maps of wherever you’re travelling. You can download the entire country in about 6 sections and can then access them without any internet or phone connection. COSTS
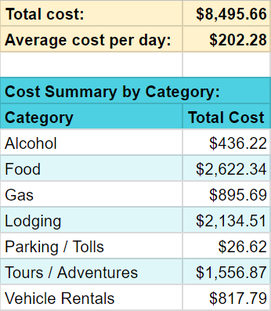
New Zealand caters to all levels of travelers but isn’t cheap. Not including flights, for 2 people road tripping around NZ, on the lowest end, you can expect to pay $120 USD per day ($20 per day on food, $10 on adventures). That’s cooking your own ramen and oatmeal, no booze, and avoiding costly tours (but arguably also missing some of the top reasons to visit NZ). We spent about $200 per day ($50 per day more on food/booze, $30 more on adventures) which included a small car and lodging in hostels and Airbnbs. The costs can skyrocket from there depending on your lodging preferences and proclivity for adventure. Bumping your budget to $250 per day would get you some hotels or glacier treks and whale watching. And you can use your imagination from there!
The exchange rate at the time of writing this is $1 USD = $1.37 NZD. Exchange rates can fluctuate, so make sure to check what it is around the time you’d be visiting. You’ll want to convert our costs into what they would be for you in New Zealand Dollars. Our total costs were $8,500 USD = $11,637 NZD. Depending on the exchange rate, it could make your trip a little more or less expensive. As an example, if the exchange rate for you is $1 USD = $1.50 NZD, then your total costs might be $11,637 NZD = $7,758 USD. Or it could go the opposite way, and if the exchange rate for you is $1 USD = $1.00 NZD, then your total costs might be $11,637 NZD = $11,637 USD. See the budget below for an overview of our costs. Here is a link to our full budget from New Zealand if interested in exact costs. GEOGRAPHICAL & DAILY ITINERARY
Below is an overview map of our stops. Below the map are descriptions of each place we went. If you're interested in our daily hour by hour schedule, you can see it here.
SOUTH ISLAND (see photos here)Christchurch
The city was hit hard by earthquakes in 2010 and 2011, and they are still rebuilding. Some people say it’s depressing, and in a way, it is, but it also shows the resilience of people and what they can do together. They have a lot of temporary buildings made of things like shipping containers. They also have a lot of brand new, shiny, modern buildings. The earthquake in the city center drove some of the small businesses to move into the suburbs, but it seems like they are trickling back in. The city seems to be doing well with its urban infill, and we think it’s worth your time to visit.
Christchurch is a good start or end point for a New Zealand trip as it tends to have the cheapest international and domestic flights. As the largest city in South Island, this is a good place to get any gear you might need and car rentals are pretty cheap out of here. Accommodation: We stayed in a historic jail that has been converted into a hostel, Jailhouse Backpackers. They keep the theme with hostel hosts wearing orange or black and white striped clothing. The rooms also have the original heavy metal jail cell doors and the bathrooms have some of the original sinks and toilets. They’ve also got some preserved cells to peer into. It’s a 25 minute walk to the city center, but there is a bus that can take you part of the way in as well as Uber. If you have a car, you can also drive in, but you have to pay to park (it’s only a couple of dollars though). It was a good hostel with pleasant staff and enough showers / toilets. It’s also a large place, so you can easily socialize if that’s what you’re there for. Of particular note, this hostel had by far the best wifi of any other place we went in all of South Island. Things to do: Downtown Christchurch is small, walkable, and easily covered in a day. Container City is a neat outdoor food court area downtown built out of shipping containers. Quake City is a neat, albeit humbling, museum about the big earthquake that cracked up the city less than a decade ago. Take a look at the broken up cathedral for a glimpse at the strength of the quake. Colin really liked that the creek running through downtown was so clean that trout were swimming around next to the skyscrapers. Nearby: Outside of Christchurch on the other side of a very big tunnel is a small coastal town called Lyttleton. They had a great farmer’s market on Saturday with some of the nicest people we met in all of New Zealand. A must see in this region is a French town called Akaroa. It’s an even smaller coastal town with beautiful turquoise waters and pleasant public beaches. They love their roses and French cuisine in this little town and though it’s a bit touristy, it was truly a cool place. It’d be worthwhile to spend a night here if time allows, or at least dedicate a full day. Oamaru
We drove through Oamaru on our way from Christchurch to Dunedin. It’s a peculiar little town that is very in to steampunk.
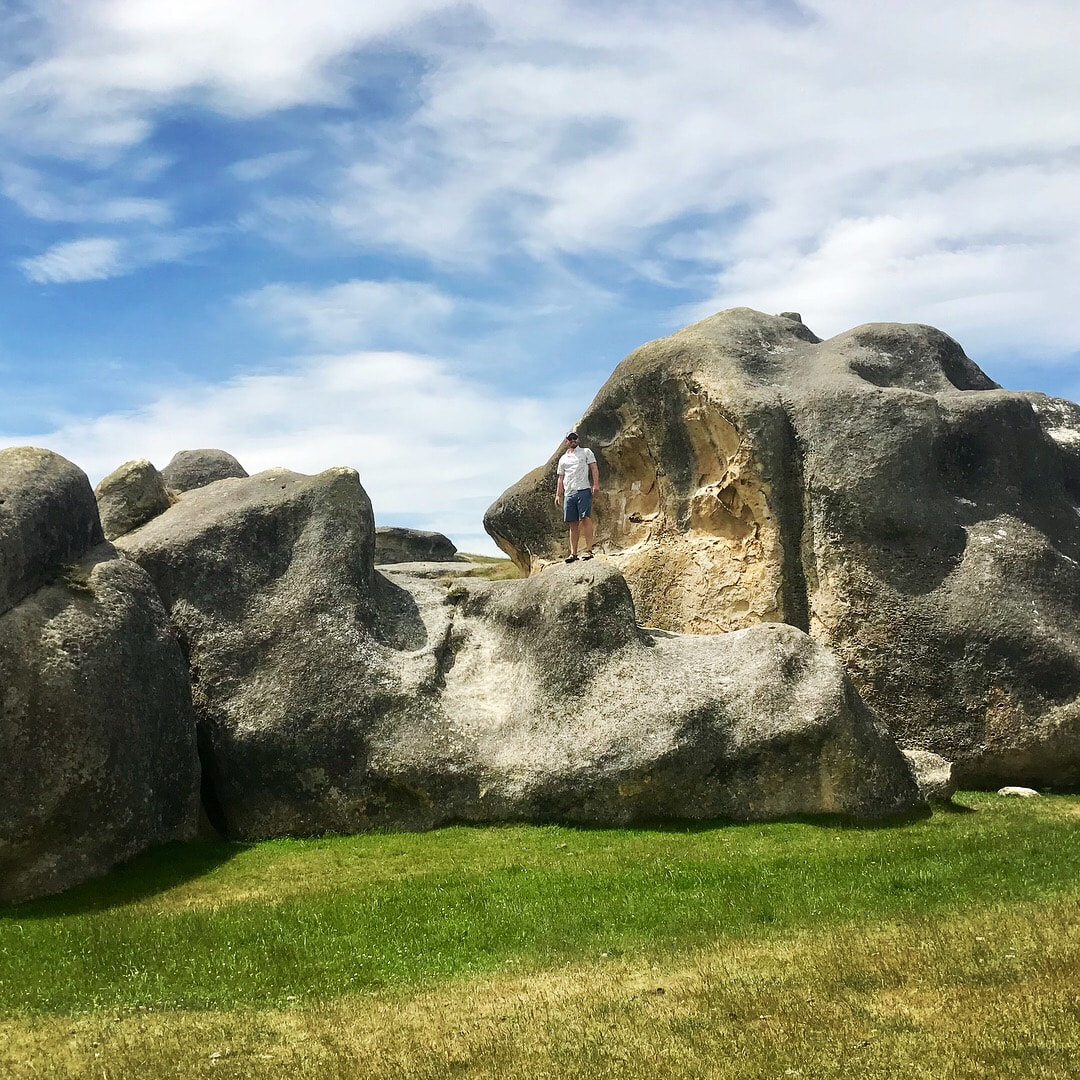
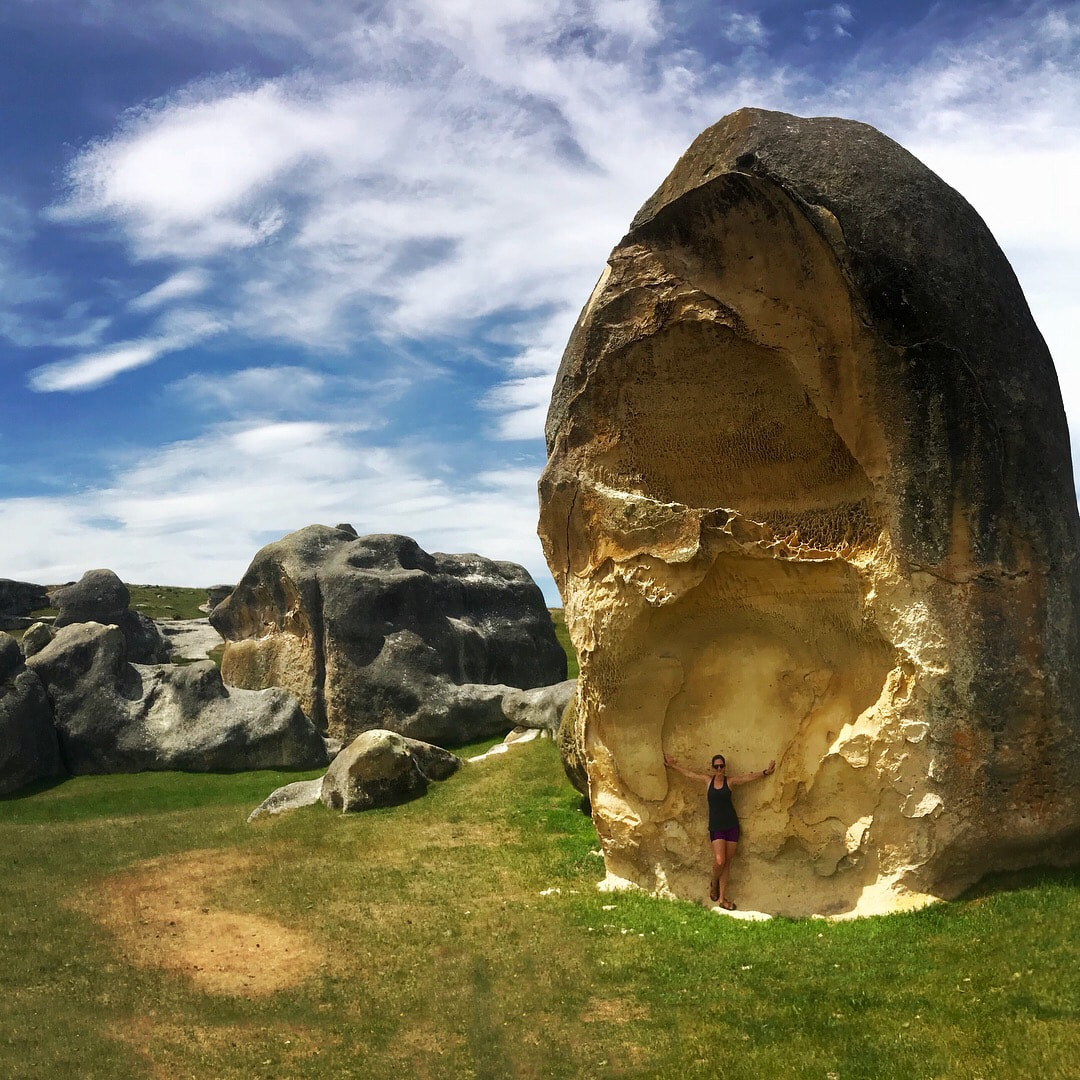
Things to do: It was interesting to walk around for a few hours and grab lunch. If we had longer it would’ve been cool to go into their Steampunk Museum. Nearby: The Elephant Rocks were some building-sized eerie boulders scattered haphazardly in a farmer’s field. These were fun to climb around and was a great hour-long activity. There are also the Moeraki Boulders. These are like VW beetle-sized rocks shaped like bubbles on the beach. They’re rounded and smooth from the ocean and dot this one section of beach. Only go during low tide or the water covers some of the rocks. These were not as cool as they sounded and are really only worth a stop if you’re driving nearby. Dunedin
Dunedin (pronounced Duh-nay-din) is a very Scottish town and proud of their heritage. It’s South Island’s second biggest city and has a couple universities so it feels younger and more rambunctious. There’s a lot of good food options here and it’s a nice hub for exploring the nearby touristy spots.
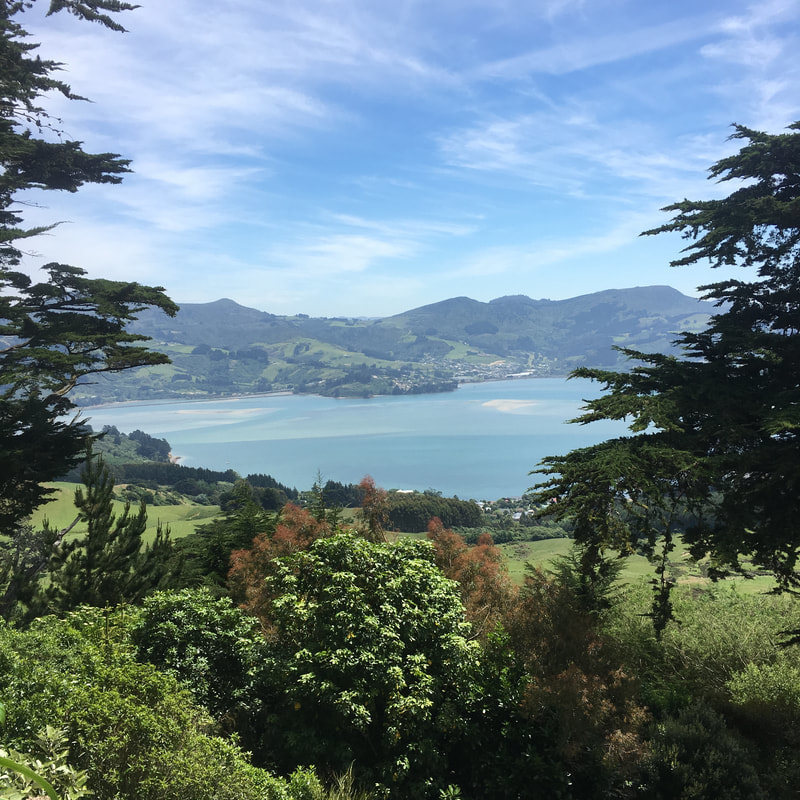
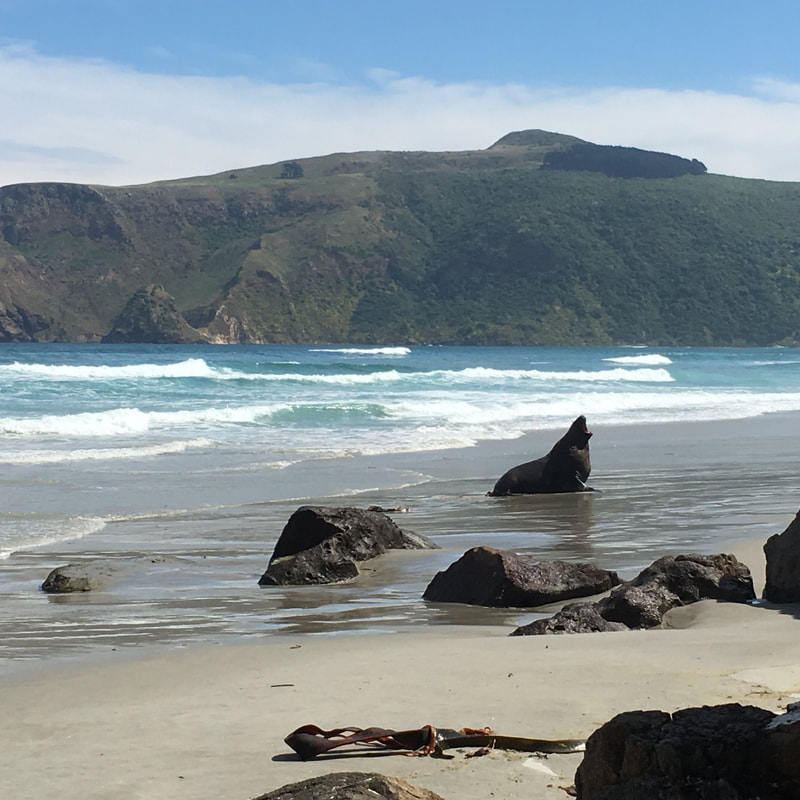
Accommodation: We stayed at Chalet Backpackers which was serviceable but not anything special. Good luck finding decent internet anywhere in town. Things to do: There’s a Settlers Museum that was neat but felt a bit disorganized and scattered. Also, they’ve got a picturesque train station that’s impossible to miss due to it’s size and central location. They’ve got a huge brewery as well as a Cadbury chocolate factory in town that both do tours if interested. Dunedin has some nice parks around town that offer great views of the harbor and surrounding mountains if you catch a sunny day! Nearby: Otago Penninsula is a big area to drive around with many stunning views and short hikes to viewpoints and lighthouses. This is where you see all the crazy coastal wildlife of New Zealand. Allocate a solid day to explore here. The Royal Albatross Center is one of the only places in the world where you can view nesting Albatross birds from the mainland rather than far off islands. Unfortunately, a tour here costs $55 NZD which was more than we were willing to pay to see big birds sitting on the ground. This center also does penguin tours to watch penguins waddling out of the ocean to their roosts at dusk. These were too pricey as well at $35 NZD considering you can see penguins for free at many other places. If you’re short on time though and want guaranteed penguins, then this is a good spot for you. Larnach Castle is a neat 2 hour trip with nice gardens and great views of the coast and harbors. It’s not really a castle but a swanky mansion with gardens full of exotic plants only found in New Zealand. You can also stay in the castle if you have deeper pockets than us. One of our top spots in all of New Zealand was Allans Beach near Dunedin. We saw many animals; it was free; and there were only a couple other people! In the afternoon on this beach, fur seals and sea lions pop right out of the surf to lounge on the rocks and sleep in the sand. We had some close encounters with monstrous sea lions – too close for comfort even. At one point, we were trapped by massive sea lions and had to sneak by them once they’d flopped down in the sand. They are so huge and stinky. They are quite entertaining to watch since they’re so awkward on land. Also, keep an eye out for penguin nests! We had a baby penguin pop his head out to see if we were parents there to feed him. This is a great spot for wildlife and a must see. Catlins
The Catlins is the name of a coastal rain-forested region south of Dunedin. It’s sparsely populated with winding, battered roads and very limited places to stay and eat.
Accommodation: We stayed in Chaslands at Whistling Frog Holiday Park. It was a fine place run by a loud American with way overpriced food. Internet here was just a trickle from the rest of the world, and there’s not much cell service. I’d strongly suggest camping at Curio Bay if you have the gear or are fine sleeping in your car for a night – I’ll get into why this spot later. Nearby: One of our favorite spots and another must see in New Zealand was Curio Bay. In this bay you can swim with the world’s smallest and rarest dolphin, the Hector’s Dolphin. Totally wild family pods of these animals wander around the bay and play with swimmers. They’re curious animals and seemed to play with us to see how close they can swim by without touching you. The water is absolutely freezing, but you have to jump in if you spot these guys near the shore. There didn’t seem to be a pattern for when the dolphins would show up which is why camping here is a great idea because you can then spot them from your campsite and jump right in. Also, penguins waddle up the shore here too, so camping here gives you a better chance of seeing these guys too – all for free! Additionally, there’s a big petrified forest that you can view during low tide right next to Curio Bay. The weather and tides didn’t cooperate with us while we were there so we missed this but heard it was cool. Cathedral Caves was a neat 1-2 hour activity. These are giant sized caves carved out of the ocean cliffs that are only accessible during low tide. You can find the exact hours that the caves are open on their website here, and you should definitely show up 15 minutes early to avoid the crowds. It’s about a 30 minute walk down to the beach and the caves are a quick loop filled with trapped, decaying seaweed and breeding flies. It’s an awe-inspiring cave due to its size and worth checking out if the timing aligns with your journey. We stayed the night nearby to get to the caves at the correct time, but I’m not sure it’s worth that amount of effort. If you’re camping at Curio Bay, then it’s not far and should be on your list. Stewart Island / Ulva Island
Stewart Island is New Zealand’s southernmost island and the last land south until Antarctica! It’s known for its pristine environment and exotic bird species. You can catch a ferry from Bluff for about $140 per person round trip. From Stewart Island, we continued to Ulva Island (for about another $10 per person round trip) which is a much smaller island off the coast of Stewart Island. Ulva has zero predators due to extensive work by the government to eradicate invasive pests like rats, possums, and stoats which decimate native bird populations. The government introduced many endangered native birds to this island and walking around, it feels like you are in a massive open-air zoo aviary. Exotic parrots land on the branches next to you and exotic songbirds dance around your feet. The island is rather small, so you can easily hike all the trails in a day and have some extra time to lounge on the deserted beaches. You’ll also likely spot penguins fishing right off the beaches! We wanted to see a kiwi bird here but weren’t lucky enough this time. Kiwi birds are typically nocturnal due to pressure from predators so on this predator-free island, your chances are a little better to spot one during the day, but still very low.
Fiordlands
Fiordlands is one of New Zealand’s most famous parks containing Milford Sound and Doubtful Sound. This park is hard to get to and an expensive corner of NZ with limited dining and lodging options. Te Anau and Manapouri are the closest towns, but most visitors seem to come much farther from Queenstown or Invercargill on very long day trips. No matter where you stay, you’ll be doing many hours of driving. I’d recommend avoiding big tour bus tours because they dump 50 people off at once to these tiny viewpoints so you’re always vying for position for the same photo. Exploring this area by car or small van is much more manageable.
Accommodation: We stayed in the countryside at a hostel called Barnyard Backpackers that was situated on a red deer/elk farm outside of the small town of Te Anau. It was a homey place with big bunk rooms, serviceable internet, and a great common area and kitchen. Things to do: We covered a lot of ground exploring this area and had to make sweeping changes to our itinerary due to bad weather. Our original plan was to scuba dive Milford Sound, but heavy rains brought water visibility to zilch, so our trip was cancelled. To make lemonade from lemons, we booked a boat tour of Doubtful Sound – Milford’s less touristy little brother. This turned out to a highlight of our New Zealand trip, and we were so lucky with the weather here. We had a window of sunshine in the morning during our boat tour then the clouds rolled in for the afternoon crew. It wasn’t a cheap day trip at about $300 USD per person, but we were already there and had to get out and see something! Doubtful Sound was selected for filming Jurassic Park back in the day, but after 30 straight days of rain, Steven Spielberg pulled the plug and moved filming to Southeast Asia. That shows you how lucky we were to have a couple hours of sunshine! The tour consisted of a boat ride through one lake then hopping on a bus for 45 minutes on a gravel road, followed by the actual 2-3 hour tour in the actual sound. The boat took us all the way out to the ocean until the waves got too big. We saw some penguins and easily a hundred seals on the rocks at the ocean entrance to the sound and, boy, did they stink! Doubtful Sound doesn’t have as big of waterfalls or as steep of cliffs as Milford Sound but there are only a couple of tour operators so there are very few people on the water for unobstructed views everywhere. Nearby: There are a bunch of great day hikes in this area as part of the Kepler Track, or you can go for a multi-day trek. It rained the entire time we were here, so we stuck closer to the car and cafes. Milford Sound is best viewed from a boat, but there are still many small scenic spots along to road to the sound and wandering around the mouth of the sound gives you a small sense for the area. You can make a good day trip out of it even if you don’t hop on a boat. Doubtful Sound can only be seen by boat cruise as there are no public roads to it. This excursion takes a full day. Queenstown
Queenstown is the tourism gem of New Zealand. I’m pretty sure that every day of the year there are far more tourists in this town than residents. Heck, even everybody working there seems to be long term tourists working for a few months of the summer or winter season. This town is a mecca of outdoor activities and extreme sports. You could easily spend a whole month here and still not do all the activities and hikes in the region. You’d also blow a huge budget here. Everything was expensive. The youthful, transient adventurers that the town attracts means there’s a roaring night scene for all ages. Make sure to bring your passport with you if you plan to want a drink because this was the only place in New Zealand that required us to show our ID regardless of age to get into bars or even buy beer at the grocery store. And you cannot show a state driver’s license. You have to show your passport.
The town reminded me of Vail, Colorado with outdoor stores and fancy restaurants on every corner. A tip we learned and wish we’d known earlier is that Queenstown has some of the best secondhand outdoor gear probably in the world because the army of seasonal guides get to test out new gear and buy gear at huge discounts then they sell or donate all their gear at the end of the season to second hand shops. If you need gear and don’t mind a little wear and tear, organize your trip to load up in Queenstown! Accommodation: We stayed in a budget hostel in town called Southern Laughter Backpackers. We shared a bunk room with a British guy who’d gotten stuck in Queenstown for a few months like many other young travelers. It was meh. Can’t say much about it except that the British guy was super nice. Queenstown could be explored through tour operators but that gets expensive and is a bit rigid for travel plans. Having a car here was helpful so that we could duck out of town to go on some hikes at our own pace. However, since New Zealand is so small, you can helicopter anywhere you want to see the big glaciers and mountain ranges all within a day. To drive between these takes entire days because of the windy roads and lack of mountain passes. As a result, you could really pick a town like Queenstown and helicopter around to everything in a leisurely week rather than driving for half of your time. A more budget friendly option is the 15-hour tours that leave super early and get back well after dark to get out to far off places like Milford Sound and the Franz Josef and Fox glaciers. These make for very long days with a lot of driving time but it’s doable. Traffic in Queenstown is miserable. They were doing a ton of construction to try to help the situation, but since we were there earlier in the season, I can only imagine how bad it gets during the kiwi summer. I’d recommend being conscientious of rush hour. One cool thing about the town is that there are some odd traffic patterns with a steady stream of buses and tour vans picking up folks in the early morning and then dropping everyone off in the evening. Glenorchy
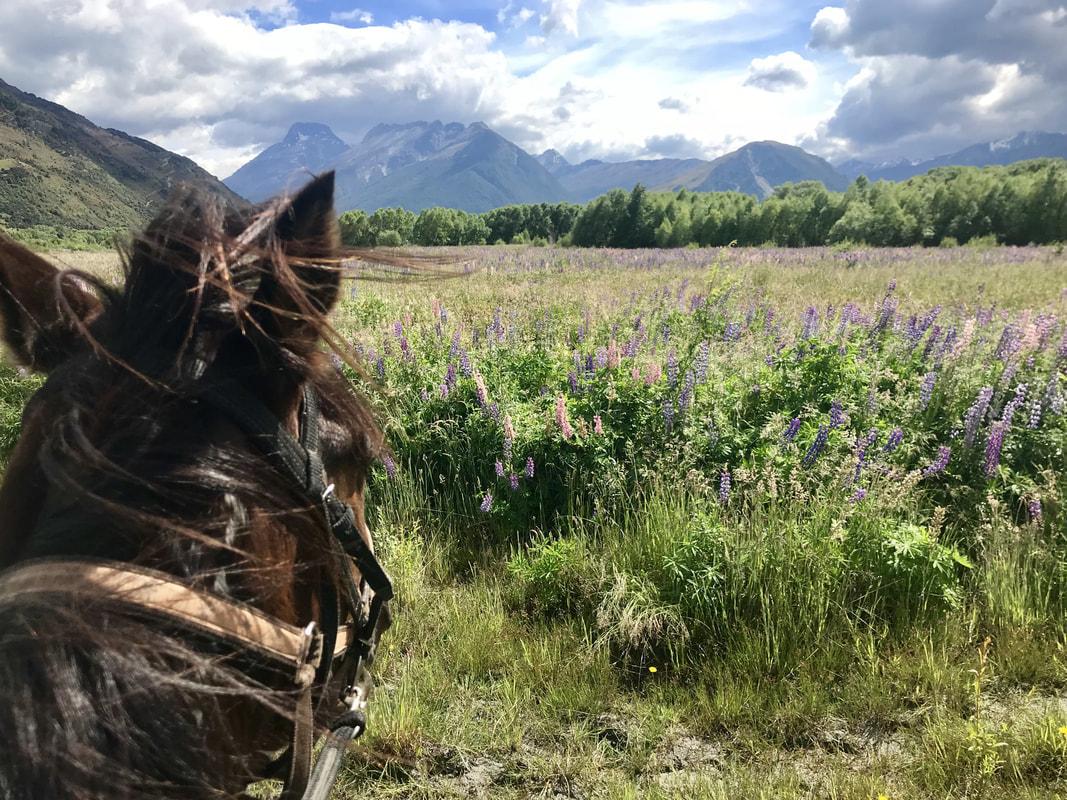
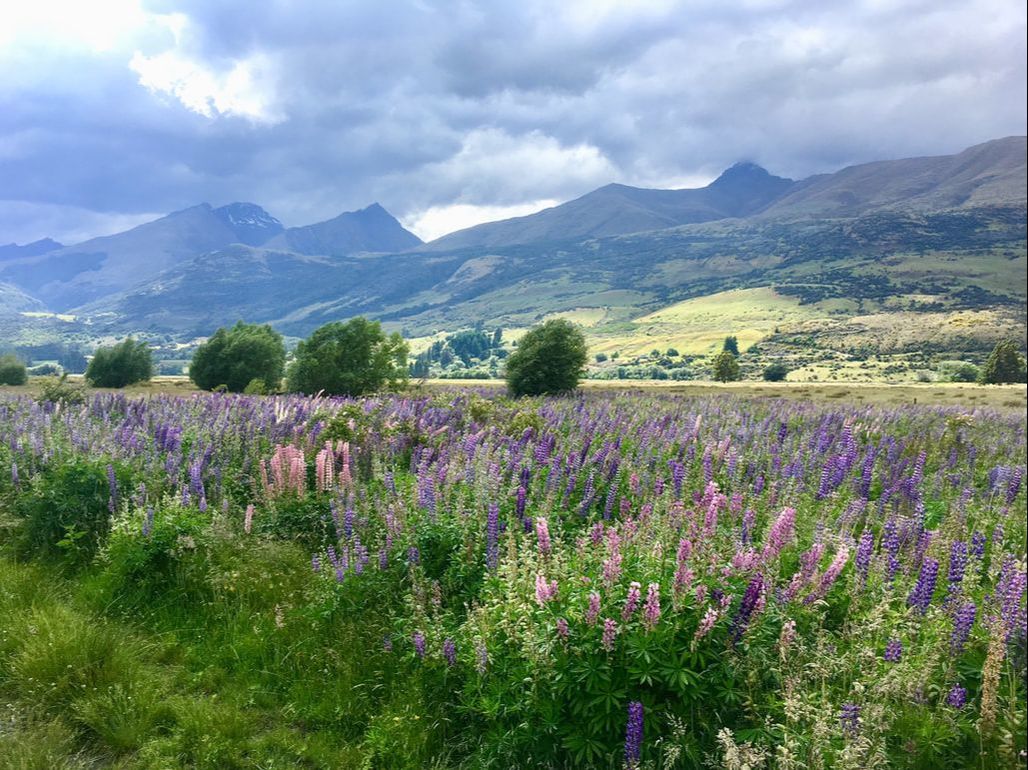
Glenorchy was a favorite for us. We went as a day trip from Queenstown, but we liked it so much that it deserves its own section here. Nestled between huge mountain ranges is this lush valley full of streams and lupine flowers. They filmed the Lord of the Rings horse rider battle scenes out here for a sense of scale. Glenorchy is a destination as the road ends there since there’s no way to get through the mountains by vehicle. For example, it’s only about 30 km from Glenorchy to Milford Sound as the crow flies, but since there’s no mountain pass, it takes 330 km to go around the lakes and mountains.
You go to Glenorchy to relax from the bustle of Queenstown and to ride horses. We rode with a company called High Country Horses and had a great time crossing rivers and trying to remember how to trot and canter. The guides were funny and informative, and the horses were very well taken care of. This was a beautiful day and a truly rewarding activity. We went on December 9th and it was right after the true peak flowering of the lupines. If you have the chance, absolutely go here in late November, early December to see the entire valley turn pink and purple. Wanaka
Wanaka was a favorite town as well. We were a bit biased since our travel friends from Honduras had lived here for a couple years and had so many great recommendations and good things to say. Here is a link to Matt's blog if interested! They have some great content about specific places and general travel tips as well.
Wanaka is like a calmer, cheaper Queenstown. Outdoor activities are just as accessible here but you don’t have the fancy buses and booming bars. We liked this vibe a lot more and the town boasts our favorite hostel and meal of all New Zealand. Our favorite meal was at Wanaka Gourmet Kitchen. It is similar to Korean BBQ in that you cook your meat yourself at your table, but it’s on a stone grill. You can walk everywhere in town and our other favorite spots were Black Peak Gelato and Speights Ale House. Looping these together makes for a great date night. Accommodation: We stayed at Wanaka Bakpaka. Great place with a good location. Would definitely stay again. Nearby: There are some incredible hikes around Wanaka. We only had time for a few and our favorite was Brewster Track for the unique rain forest and then the mountain and glacier view above the tree line. This was a full day, very strenuous hike with a steep climb, so be prepared! You have to cross a river to start the hike, and you'll need your hands to climb some of the areas. If you don't want to do the entire hike in one day, you can spend the night at the top at the Brewster Hut. See Matt's blog post for more info: The 5 Best Hikes on the South Island of New Zealand That You Didn't Know About. Roy’s Peak (pictured above) was the other big hike we did. It’s just outside of Wanaka and offers incredible views of the glacial lakes surrounding Wanaka. It was a pretty boring hike up and down on a jeep trail that winds up the hillside at a low grade so it turns into a marathon of a hike. The view certainly makes it worthwhile though! Mount Cook
Mount Cook reminded me of the Grand Tetons in Wyoming with massive snow-capped mountains tumbling down into open plains. Unfortunately, both of our days in Mount Cook had ample rain and heavy clouds. We did catch a glimpse of blue sky as we were leaving on the second day. Our hiking in the park was limited as the rain persisted. If you are luckier, the Mueller Hut Route and the Hooker Valley Track are the big ones in this area.
Accommodation: We stayed outside of the park in a town called Omarama at Ahuriri. Omarama is known for its gliders. Single-prop propeller planes tow superlight gliders into the air and then release them to soar around the mountains and plains until they glide back to the grass airfield. They’re stunning to watch but quite expensive to do since they require 2 pilots per flight. Omarama was a fine hub for venturing to Mount Cook but was an hour from everywhere it seemed. There are limited lodging options in this area though and staying in Mount Cook is very pricey. They do have some great food options and fast Wi-Fi in the resort area though! Franz Josef Glacier
We spent a few rainy days in the town of Franz Josef trying to catch glimpses of the Franz Josef and Fox glaciers but weren’t lucky in this regard. We did get some nice weather for our overnight hike on the Copland Track though. There’s not much around in this area with only a handful of restaurants and a couple gas stations. It wasn’t a very nice area but made a fine home base for exploring the sites and parks nearby.
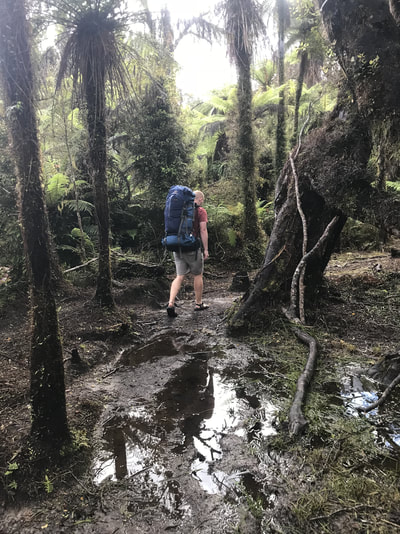
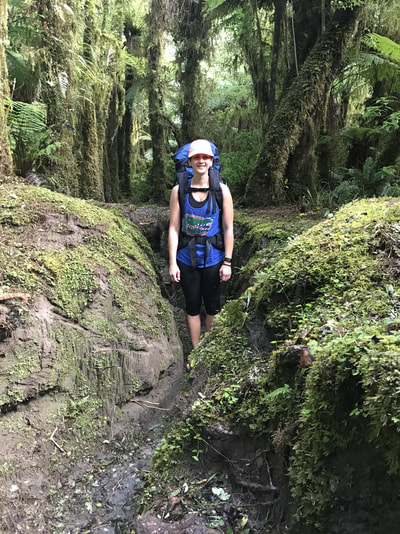
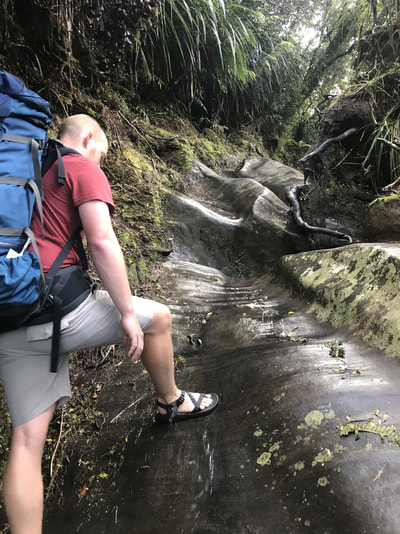
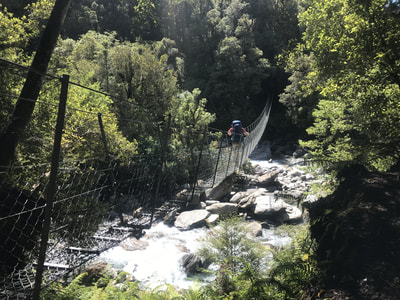
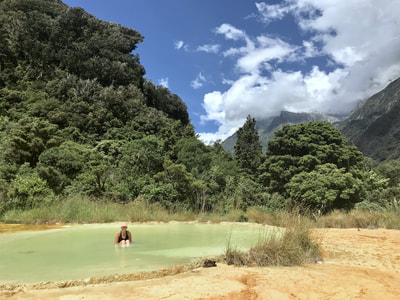
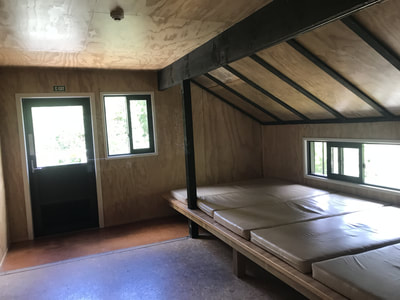
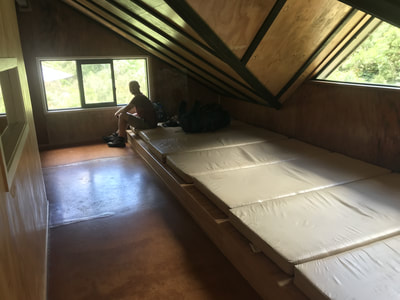
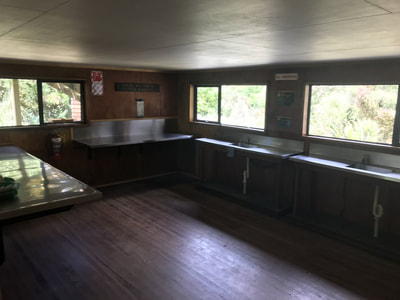
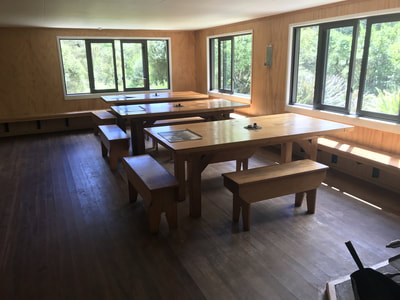
Accommodation: We stayed at a hostel called Ivory Towers and it was bad. The lady who runs the place didn’t want to be there and didn’t seem to like travelers and backpackers. She was a real grouch and the hostel was way too small for how many people they’d crammed in. Colin ended up getting sick from somebody cramped in that place. The weather didn’t help anybody’s mood though! The Copland Track: this was our big hike planned for South Island that takes a full day to reach the hut and a full day to return on the same trail. The trail that takes you through dense rain forest up into the mountains to Welcome Flat Hut with a volcanic hot spring that you can swim in! The trail used to pass through to Mount Cook but landslides made the mountain crossing impossible to maintain. Similar to the Milford Sound, the Welcome Flat Hut at the end of the Copland Track is less than 10 km as the crow flies from Mount Cook but 450 km by road (6 hours). The rain held off for us on our hike up, but it rained non-stop on our hike down. It was too much for our water proof packs to handle, so all our gear got nice and soggy including some electronics and our passports. Unfortunately, it took days for everything to dry out since it was so humid. All part of the adventure though! Here are some pictures of the hike, the pools at the top, and the Welcome Flat Hut:
Nearby: Hokitika Gorge is a section of river that’s shockingly teal with cloudy glacial water. The water reminded me of teal bubble gum for some reason! It’s neat to see for 30 minutes or so but is a bit of a drive and isolated from other things to see and do.
The Waitomo Glow Worm Caves are on all the “top things to do in NZ” lists, so we were really looking forward to it. However, it was quite a letdown. It’s a big cave system that has thousands of little bug larvae that glow blue to attract mates. There are a lot of glow worms across New Zealand in caves and forests, so you can see them all over. There are caves that have organized tourist operations and others that you can explore yourself. The Waitomo Caves are a tourist trap now, unfortunately. It was expensive at about $40 USD per person. They cram as many people in there as they can in big tour groups, so you end up spending a lot of time just waiting in the dark for groups to move out of each other’s way. They give you a fine tour telling you a bit about the cave’s history and formations, but you only actually get about 5 minutes in a wet boat to see the glow worms. The section with the high-density glow worms is tiny. It does look very cool, like an Imax presentation of space, but it’s so small and such a brief time that it’s not worth it. My recommendation would be to see glow worms in some of the many other numerous caves and jungle walks for free! Nelson
Nelson is a big city by South Island standards and one of the sunniest spots in all New Zealand (thank goodness)! Wine, micro brews, mountain bikes, and artisans is a good way to sum up this town. They love their glass and pottery but biking and wine are the facets of the town. Nelson is also one of the biggest fishing ports in the southern hemisphere and they build a lot of fancy yachts in this region. To show I’m not exaggerating, our Airbnb hosts worked for one of the fishing companies and were semi-pro mountain bikers.
We went to a great weekend market and soaked up the fast internet here over the Christmas holiday. Our hosts even invited us to their Christmas dinner! For activities, we intended to go on a biking wine tour, but it turned out to be just a wine tour in a van for which we were a bit underdressed. After the second winery though, nobody cared. We had a great time on the tour as they took us to a bunch of different wineries and the owners and operators of the wineries sat down and told us all their stories about the vineyard and wines. We me some great people on this trip and ended up spending the evening and night out with some of the folks as well! Nelson was a great spot for us to recoup and clean up after significant time in the bush. Nearby: Abel Tasman National Park is one of New Zealand’s top parks. It’s got a gorgeous coast line with great hikes and huts to stay at on multi-day treks. This park is rather popular, so it can get busy. At this point in the trip, we were a bit tired of hiking, so we did more swimming and relaxing in our day at the park. This park could easily and deservedly soak up a few days of your time. We took the 3-hour ferry from Picton (close to Nelson) to Wellington on the North Island. Picton was a nice town with many little shops and cafes. It was a fine place to spend a few hours exploring and talking to the locals before the ferry left. The ferry isn’t cheap for anybody at about $35 per person or $115 per car. They’ve got mediocre food on board and it’s a mad rush at the beginning to get good seats on the boat. We heard it was a pretty boat ride, but it rained the whole time, so we didn’t get to see much! You aren’t allowed to stay in your car during the ferry and you wouldn’t want to anyway due to the rocking. On board, they did a nice job keeping all the kids entertained with a movie theater, a magician, and balloon animals for everyone. NORTH ISLAND (see photos here)Wellington
The capital of New Zealand, Windy Welly lived up to its name with plenty of wind and rain too, unfortunately. Luckily, there are some great museums and restaurants for rainy days! It’s a small city compared to the rest of the world but big for New Zealand. With many neat neighborhoods and cafes, you can spend a day exploring all the nooks and crannies hopped up on caffeine and micro-brews. We were there between Christmas and New Year’s and learned that New Zealanders take their holidays seriously. Many places close up shop for a week or two around these holidays. This significantly limited our options, so we spent a fair amount of our time in town planning and blogging. All in all, if you’re rushed for time, you could pass over Wellington, but it is a cute town.
Tongariro Alpine Crossing
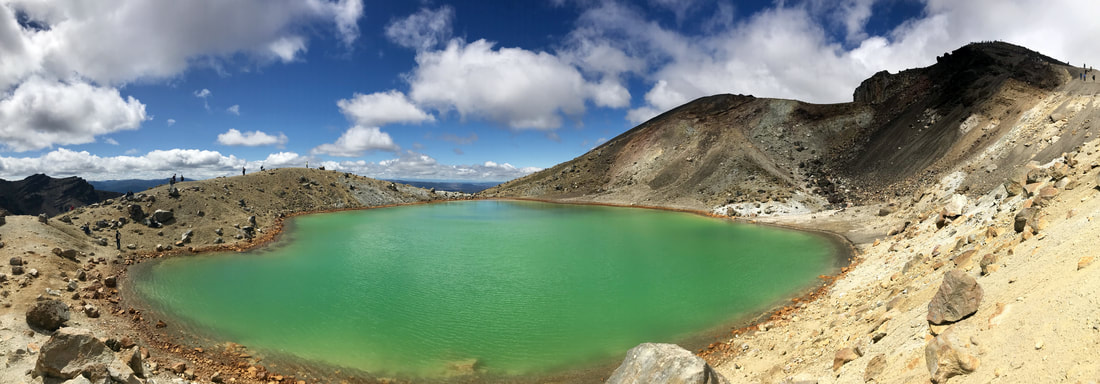
This is the volcanic, mountainous region north of Wellington covered in ski slopes with the famous Tongariro Alpine Crossing hike. It’s a full day hike that starts on the desert-like dry side of the volcanic range and ends on the other rainforest, lake-dotted side. This is also the filming location for Mt. Doom in the Lord of the Rings! It’s a popular hike so expect to share the trail with thousands of hikers in a steady stream on the trail. Unfortunately, it’s tough to avoid the crowds because there’s strict parking guidelines for how long you can park and since it’s a point to point, you need a shuttle or a great friend to move you around and the shuttles all drop off and pick up folks at about the same times.
We heard that the earlier you go, the better chances you have of a clear sky and better views and this was true for us as we watched the clouds cover the mountain tops just after we’d summited. The desert side is steeper and felt more direct so it let us summit earlier than folks doing the hike the opposite direction. I’d recommend doing the hike from the desert to the rainforest side, as most hikers do, because the rainforest side is a tedious zig-zagging gradual incline that may wear you out more than climbing the stairs on the other side. Overall, though this is a very popular hike, we definitely thought it was worthwhile for the exotic views and we made some great friends on the trail! Accommodation: The Crossing Backpackers. Great for the hike because they shuttle you there and back (for an extra cost); there are cool people there doing the hike as well; and best of all, there’s a hot tub! Rotorua
Rotorua is famous for its bubbling hot springs, geysers, and mud pots bubbling up everywhere you look. The whole town smells like sulphur (rotten eggs) due to the geothermal activity, but you get used to it (kind of) after a few hours. Rotorua is big tourist town with many activities for keeping visitors around beyond just visiting the thermal sites. We found the whole place a bit cheesy. If New Zealand was a giant amusement park, Rotorua would be the dingy ring toss game handing out impractically large stuffed animals. The best part of the town is a free walk around the city that takes you by many thermal pools, vents, and a few geysers.
Accommodation: Rotorua Central Backpackers – meh. It was fine. It was a good location. I’d stay again, but nothing special. Things to do: We went to a Maori village to see a traditional dance show and eat some thermal vent cooked lunch, but it was a bit of a tourist trap. It is an area run by Maori, but even so, it all just seemed a bit cheesy and unauthentic. It was expensive but run down, so we left rather quickly. We’d also been looking forward to Zorbing in Rotorua which is when you sit inside a massive inflatable ball and roll down the hill. This activity was absurdly overpriced at $50 USD for a 1-minute run down the hill. This is a terrible activity for folks prone to motion sickness or those with back or neck sensitivity. It’s also a bad activity for folks who like their teeth. Making matters worse, the company had shoddy gear making it unsafe. The zipper in Colin’s ball pulled apart mid-ride so he got stuck and then slammed around causing some bad whiplash and he had to check to make sure he still had all his teeth. His neck was even swollen for days. It may look fun to bounce around in a gerbil ball, but think twice about this one. Nearby: For New Year’s we thought a music festival would be fun so we went to Rhythm and Vines in Gisborne. It’s one of New Zealand’s biggest music festivals with mostly EDM style music and is set on a vineyard outside of town. We didn’t recognize any of the artists but had high hopes. The music was terrible as were the sound systems; the bathrooms weren’t working; and the beers were too weak and expensive to make the music sound better. I guess New Zealand’s small size and seclusion keeps away the bigger acts. Bay of Islands
The Bay of Islands is North Island’s coastal paradise playground. Aucklanders pour out of the city to come up here for weekend getaways and summer vacation. That also means that it’s pretty busy and tough to even find parking spaces! It rained nearly non-stop for the 3 days we were here which significantly limited our outdoor exploration. Had it been clear, we would’ve explored the Mangawhai Heads, Whangarei, and gone on a sailing trip around the islands near Paihia. Overall though, I think that South Island has areas with just as beautiful coast lines but a fraction of the people.
Auckland
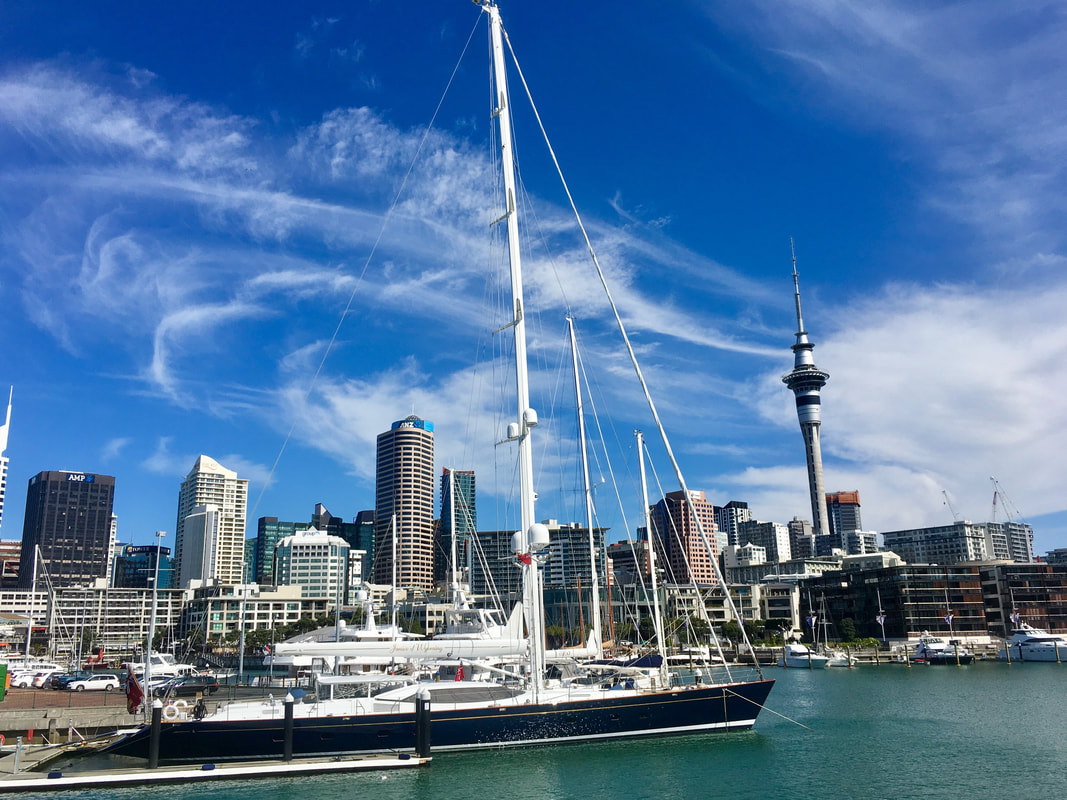
Auckland was an awesome city. They’ve got more restaurants and cafes per person than New York City! Wandering around Auckland made me instantly feel more trendy and hipster. Everything here is expensive. We ended up turning in our rental car early even though we’d already paid for the days because parking was so expensive. After assuming you’ll blow your budget in this city, you can then go out and enjoy the beautiful harbor while munching tapas and sipping nitro IPAs. I wish there were more meals in the day for this city. We trekked all over town looking for replacement Chaco sandals for Sara since hers had worn through. Though this was unsuccessful, we did become experts on all the different parts of the city. Don’t miss this city on a trip to New Zealand. If you only see one thing in North Island, it should be Auckland. Your belly will appreciate you!
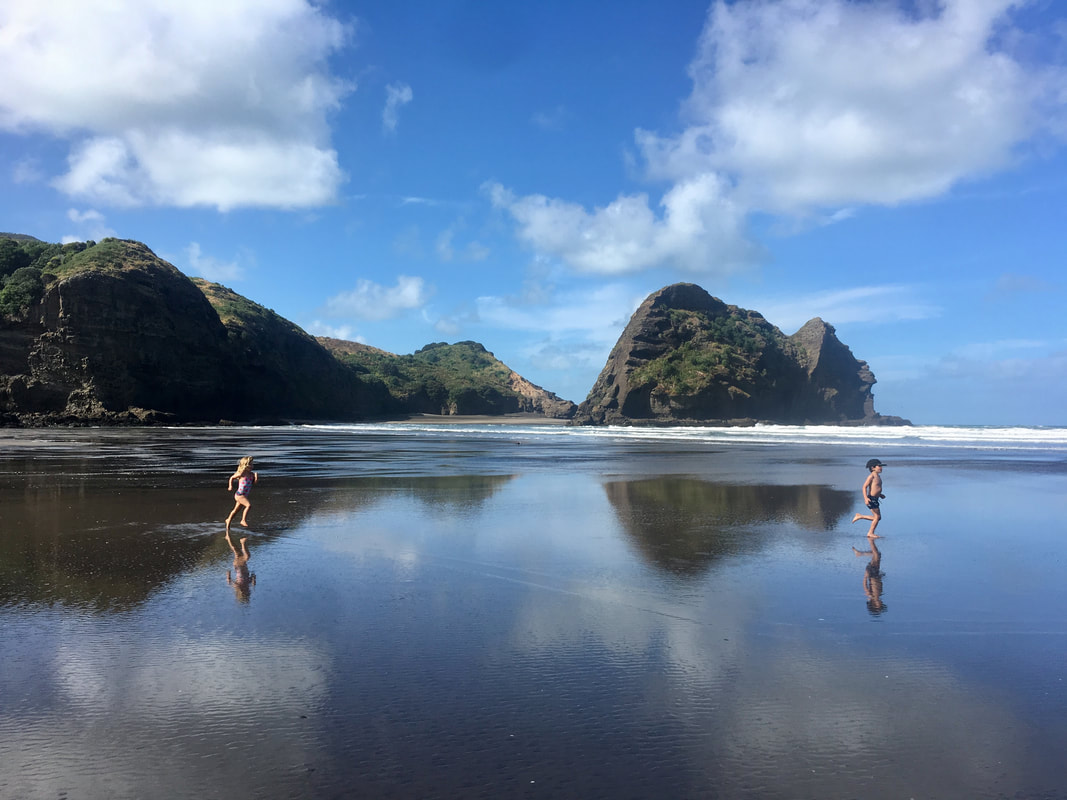
Accommodation: We tried to save a few bucks by staying in a hostel downtown called Nomads but thoroughly regretted that decision as they nickel and dimed us for everything and treated us like cattle. Nearby: Piha Beach is a black sand beach with monstrous stony cliffs and towers, some of which you can climb around for stunning views of the coast. At only a 45 minute drive from Auckland, this is a great day trip and one of our favorite beaches in all of New Zealand. SO IN SUMMARY... GO!
1 Comment
3/17/2018 03:34:20 pm
Hi! This is the GlobalGlobetrotter ✅we should connect ‘cause I have some ideas 4 you... as a fellow wanderluster...
Reply
Leave a Reply. |
Sara & ColinWe are figuring out our travel as we go along, and we'd love to help you out with yours! Here are some tips, tricks, and how-to guides. Categories
All
Archives
January 2018
|
